I am one that dreads the kitchener stitch. I have found that rhymes and songs usually help me remember directions that I hate. This one is posted on Nelkin Designs.
The SET UP:
Go into the first stitch on the FRONT needle as if to PURL, pull the yarn up and leave it on the needle.
Go into the first stitch on the BACK needle as if to KNIT, pull the yarn up and leave the stitch ON the needle.
Now begin grafting:
FRONT: KNIT OFF — knit first st on front needle, drop st off
FRONT: PURL ON — purl next st on front needle, leave st on
BACK: PURL OFF — purl first st on back needle, drop st off
BACK: KNIT ON — knit next st on back needle, leave st on
Here is also a video tutorial:
KnitPicks Kitchener Stitch Video Tutorial
Good Luck!!
UPDATED: 07/20/2017
Thank you Puffy Jo for the heads up on my error. This is why I love the knitting and crocheting community. Everyone is so helpful and willing to share their knowledge.
Showing posts with label Knitting. Show all posts
Showing posts with label Knitting. Show all posts
Sunday, February 26, 2012

Monday, January 30, 2012
Knitted Chevron (ripple) Afghan
 |
| Chevron Ripple Afghan |
Size 9US cabled knitting needles
(my gauge is 5 stitches = 1 inch)
for a baby afghan or lap blanket (36" wide) I cast on 184 stitches
Row 1 K2, *K1f&b, k5, sl1 (knitwise), k2tog, psso, k5, k1f&b* (repeat from * to * to the last 2 sts) K2
Row 2 Knit
Repeat Row 1 and 2 until you reach the length that you want.
BO after row 1
I use this pattern as a stash buster, so I do not have accurate yardage, however here is a link that can get you close.
http://cache.lionbrand.com/faq/96.html?language=
**If you wish to alternate colors always change colors on Row 1. The afghan pictured has alternating stripes after 10 rows.
**Optional tip: I always slip the first stitch, as if to purl, at the beginning of every row. This makes a very nice smooth edge.
**If you are new to the chevron pattern, in order to keep
your place, I put a marker every so often in between the last k1f&b and the first
k1f&b. If I get to this place and I am 'off' it is easier to fix
immediately.
**Tutorial for K1f&b This is an excellent video tutorial by Knit Witch on youtube that demonstrates K1f&b.
**Tutorial for PSSO This is an excellent video tutorial by VeryPinkKnits on youtube that demostrates PSSO
**Tutorial for K1f&b This is an excellent video tutorial by Knit Witch on youtube that demonstrates K1f&b.
**Tutorial for PSSO This is an excellent video tutorial by VeryPinkKnits on youtube that demostrates PSSO
Sunday, December 25, 2011
Women's Knit Booties

Instructions:
Making the Ankle Section
1 Measure the necessary width of your slipper by starting at
one side of your ankle, going under your foot, and up along the other side of
your ankle. Make a note of this as Measurement No. 1. Then measure your ankle
by starting at the front and going to the back (don't go around to the front
again). Make a note of this as Measurement No. 2.
Your slipper will be knitted by
starting at the back of the foot and working toward the toes.
2 Cast on enough stitches to equal Measurement No. 1. Work in
a garter stitch (knitting each row) until the length of your work is equal to
Measurement No. 2.
Make a note of the number of stitches required for Measurement No.
1. Also make a note of the number of rows required for Measurement No. 2. Do
this to ensure the second slipper matches the first.
3 Bind off 16 stitches and knit the rest of the row. Repeat
this row once more. You have now bound off the first 16 stitches on both sides
of your work and completed the ankle section.
Making the Foot Section
1 Continue knitting each row until the length of the slipper
equals the length of your foot, then knit three more rows so the slipper won't
be too tight.
2 When the slipper is the desired length, decrease the stitches in
the last row by knitting one stitch, then knit two stitches together, knit one
stitch, then knit two stitches together. Repeat this pattern across the row.
3 Cut your yarn, leaving a 24-inch length to be used to sew
the slipper together. Thread the end of the 24-inch length through the yarn
needle, and pass the yarn needle through each stitch along the knitting needle.
Slip the stitches off the knitting needle and tighten the yarn, drawing the toe
section together.
4 Fold the slipper in half lengthwise and, using a whip
stitch, sew from the toe area along the top of the slipper and up the ankle
section. Finish off and cut the yarn. Then sew the seam along the back of the
foot. Finish off, cut the yarn and weave all loose ends of yarn into the
slipper. Add a pom-pom, if desired, to the top of the slipper in front of the
ankle.
5 Make a second slipper exactly the same as the first.
(credit for this pattern goes to http://www.ehow.com)
Thursday, December 15, 2011
Double Knitting (reversible knitting)
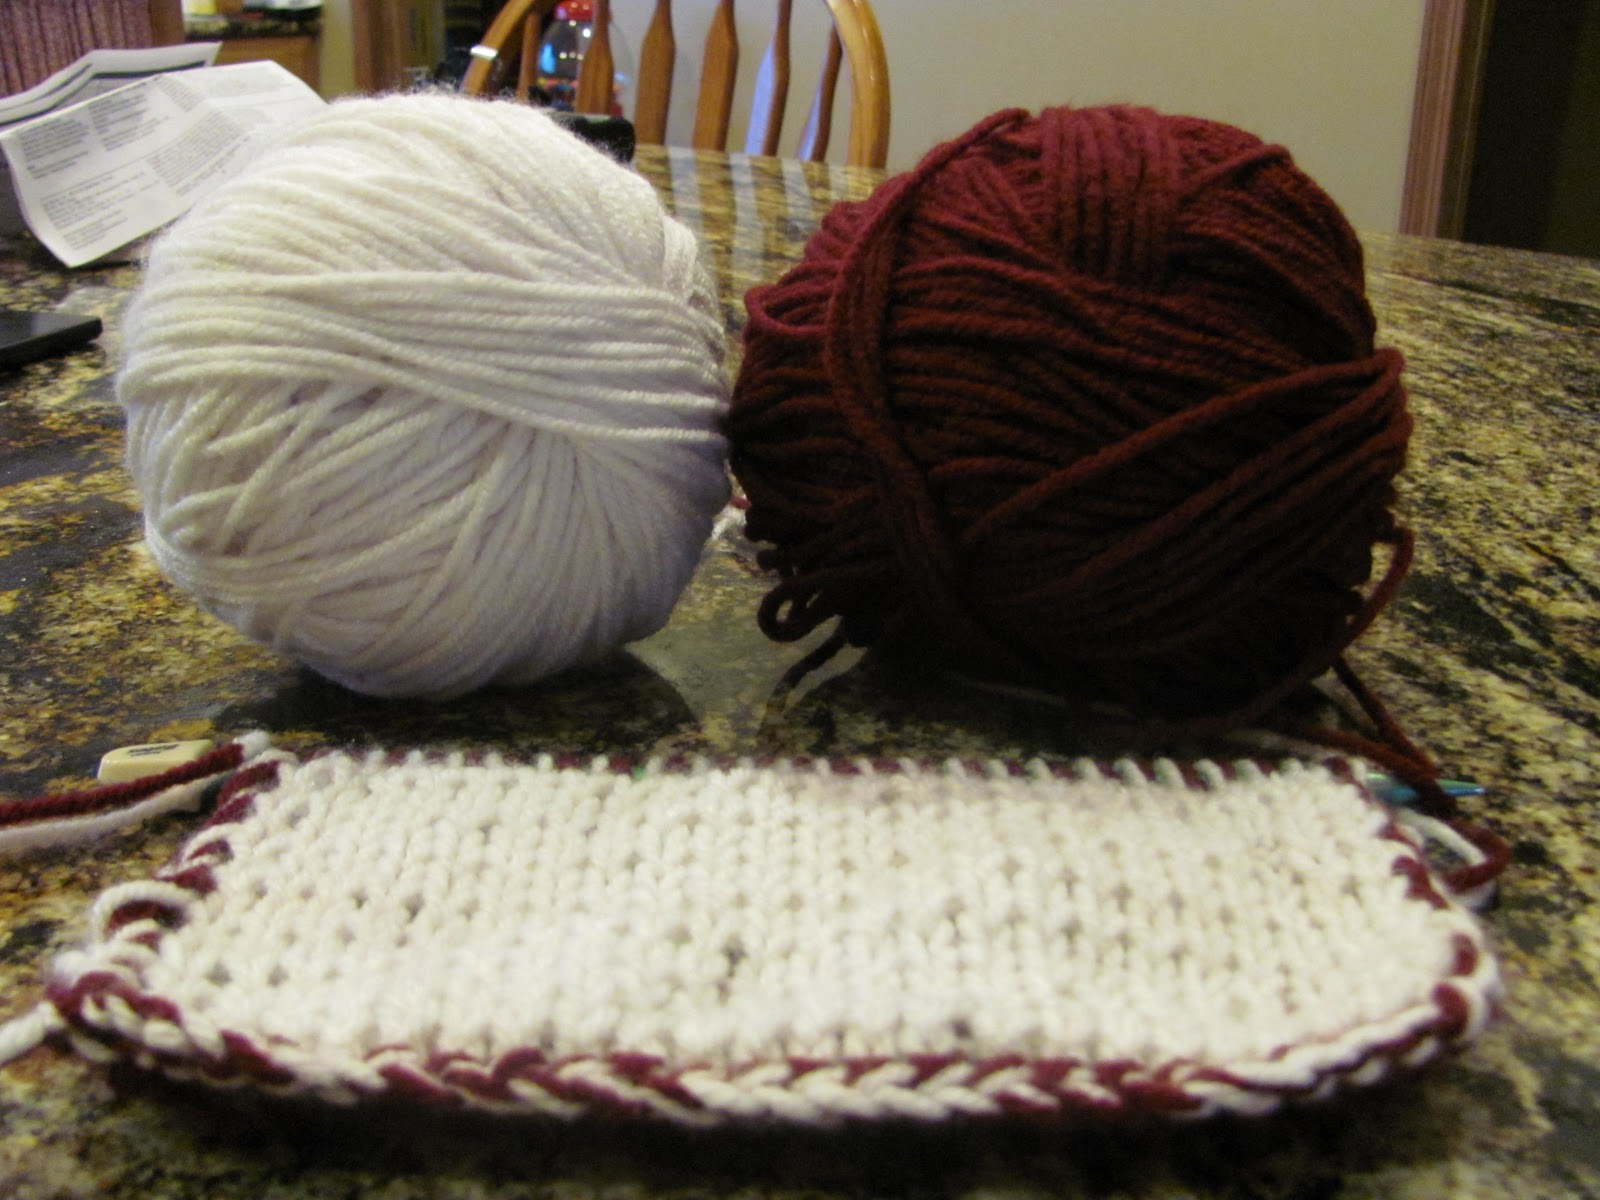
This is a work in progress and very basic...my practice piece is a potholder.
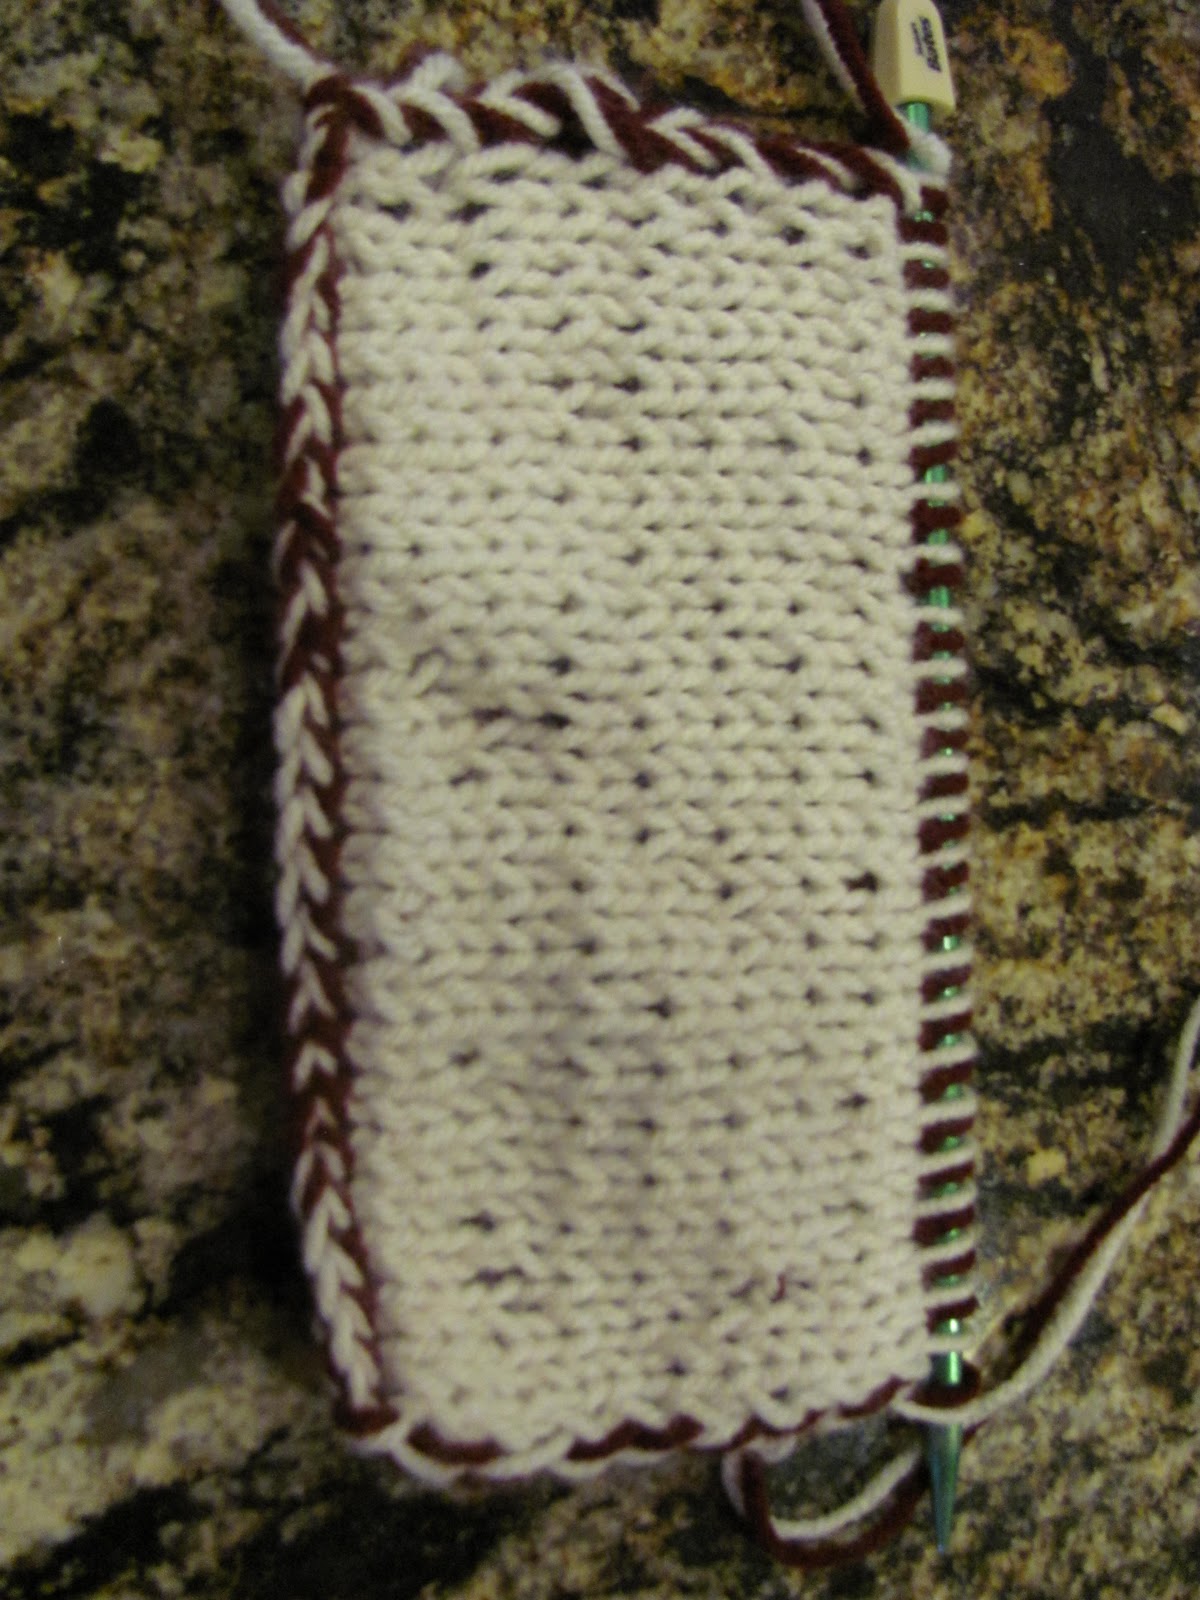
With 2 strands of yarn in contrasting colors, held together, cast on 24 stitches. There should be 48 loops on your needle. Make sure to alternate colors. In this case mine is red/white/red/white and so on.
This is a warning to the Mosier Children: You will probably be getting some 'not so pretty' potholders for Christmas.
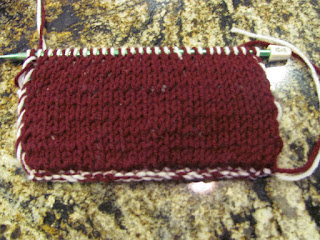 I used this You Tube tutorial to help me get started: Knitting Help - Double Knitting by verypinkknits
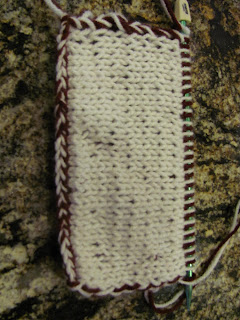
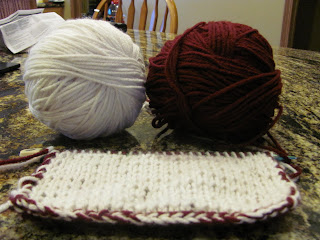
With 2 strands of yarn in contrasting colors, held together, cast on 24 stitches. There should be 48 loops on your needle. Make sure to alternate colors. In this case mine is red/white/red/white and so on.
This is a warning to the Mosier Children: You will probably be getting some 'not so pretty' potholders for Christmas.

Saturday, January 1, 2011
Rounded Heel Knitted Slipper Pattern

This pattern has evolved from other knitted flat slipper patterns. The original slipper pattern can be found on Peppermint Mocha Mama's blog.
Materials:
2 skeins of worsted weight yarn
Size 7US knitting needles
Darning needle
Instructions:
**You will be knitting with 2 strands of yarn held together throughout the pattern.
**Always slip the first stitch in every row as if to purl, this makes a nice edge.
**Tutorial for Kf&b by Very Pink Knits
Cast on 25 stitches (Leave a long tail to sew up heel of slipper)
Rounded Heel
Row 1: sl1, Knit across
Row 2: sl1, K10, Kf&b1, K1, Kf&b1, K11 (27sts)
Row 3: sl1, Knit across
Row 4: sl1, K10, Kf&b1, K3, Kf&b1, K11 (29sts)
Row 5: sl1, Knit across
Row 6: sl1, K10, Kf&b1, K5, Kf&b1, K11 (31sts)
Row 7: sl1, Knit across
Row 8: sl1, K10, Kf&b1, K7, Kf&b1, K11 (33sts)
Row 9: sl1, Knit across
Row 10: sl1, K10, P1, K9, P1, K11
Row 11: Sl1, Knit across
Repeat Rows 10 & 11 - 10 times (total of 31 rows, ending with Row 31)

Body of Slipper
Row 32: Sl1, *P1, K1*
Row 33: Sl1, Knit across
Repeat Row 32 & 33 until you reach the length you want.
(at this point if you wish to avoid seaming, you can knit in the round)
HINT: For my size 9(US) ladies foot, I knit a total of 61 rows before I started my decrease rows.

Decreasing the Toe
Row 1: Sl1, *P2tog, P1*
Row 2: Sl1, *K2tog, K1*
Row 3: P2tog across to the end
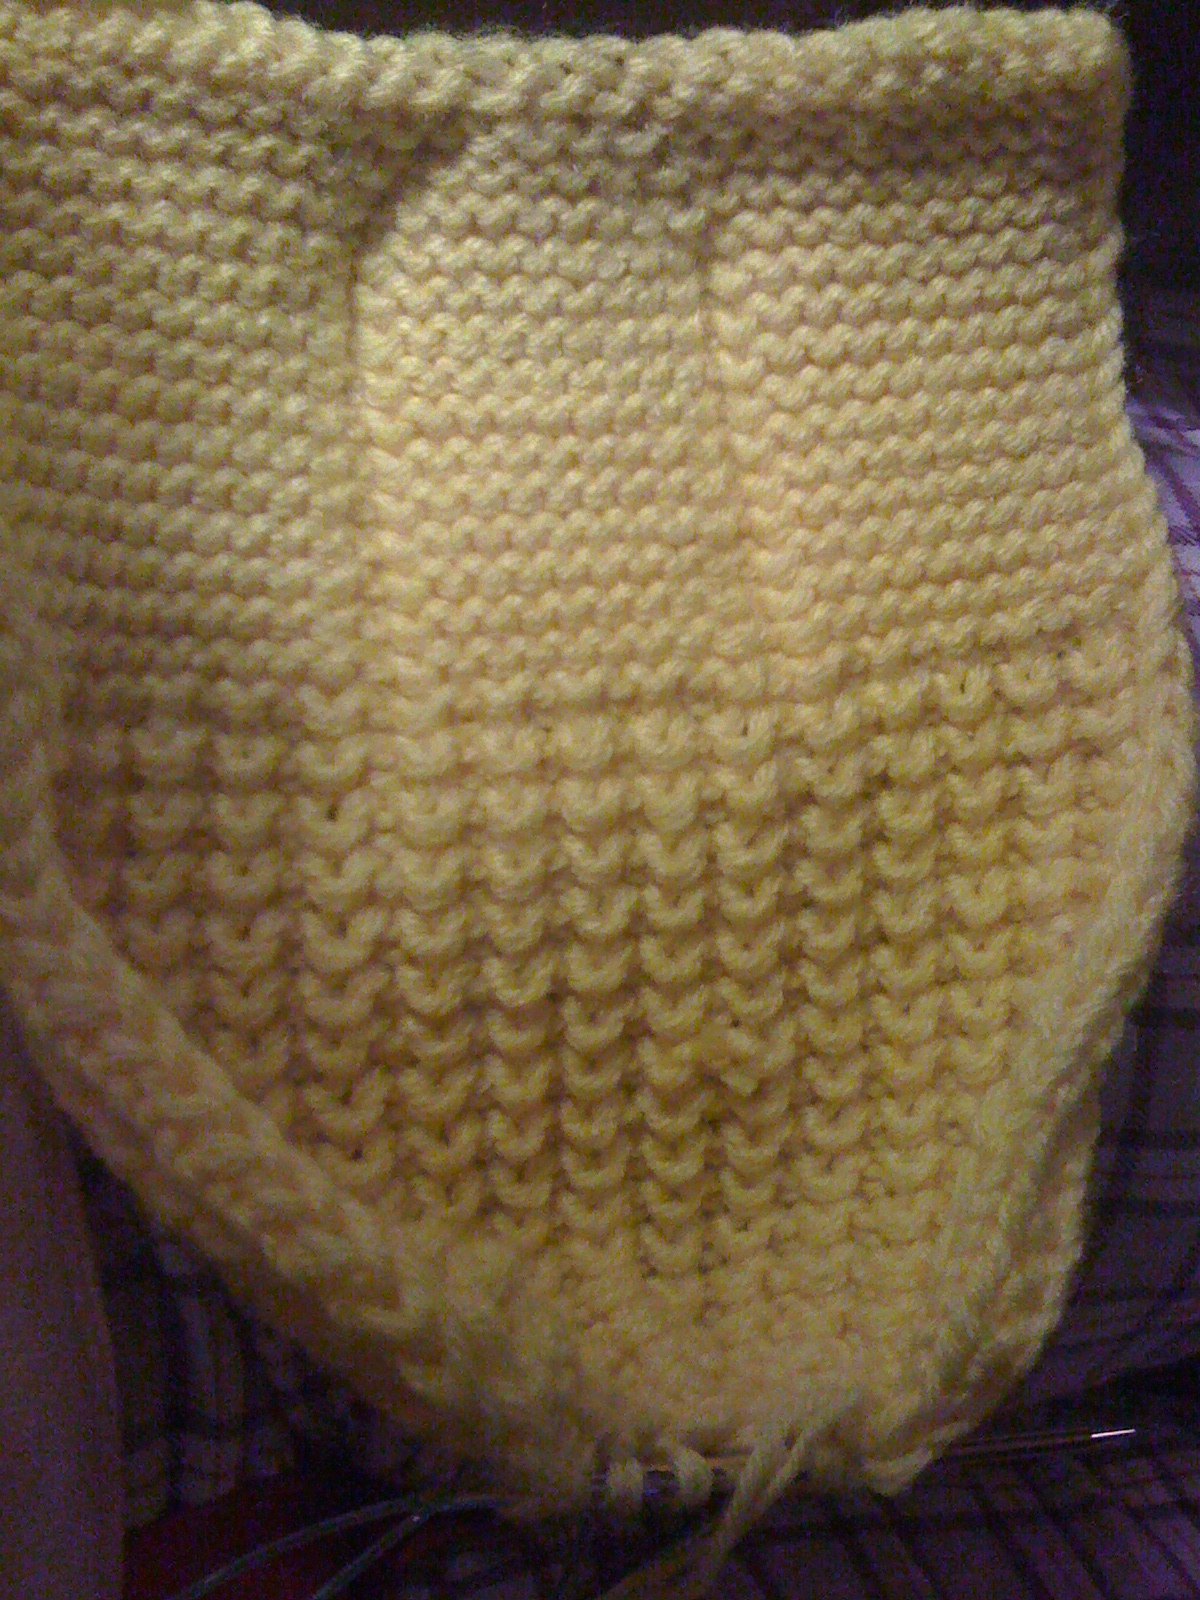
Leave a long tail and cut yarn. Using a darning needle, run the yarn back thru, picking the yarn off the needle. Pull tight, this will form a circle at the end of the toe. Turn the slipper inside out and proceed to sew up the top of the slipper, stop at the change in pattern and tie off.
Fold the slipper in half and with the long tail from the cast on, sew up the heel.
Turn the slipper right side out. Make a pom, pom and attach. You may also add Dimensional paint to the bottom of the slipper to enhance traction.
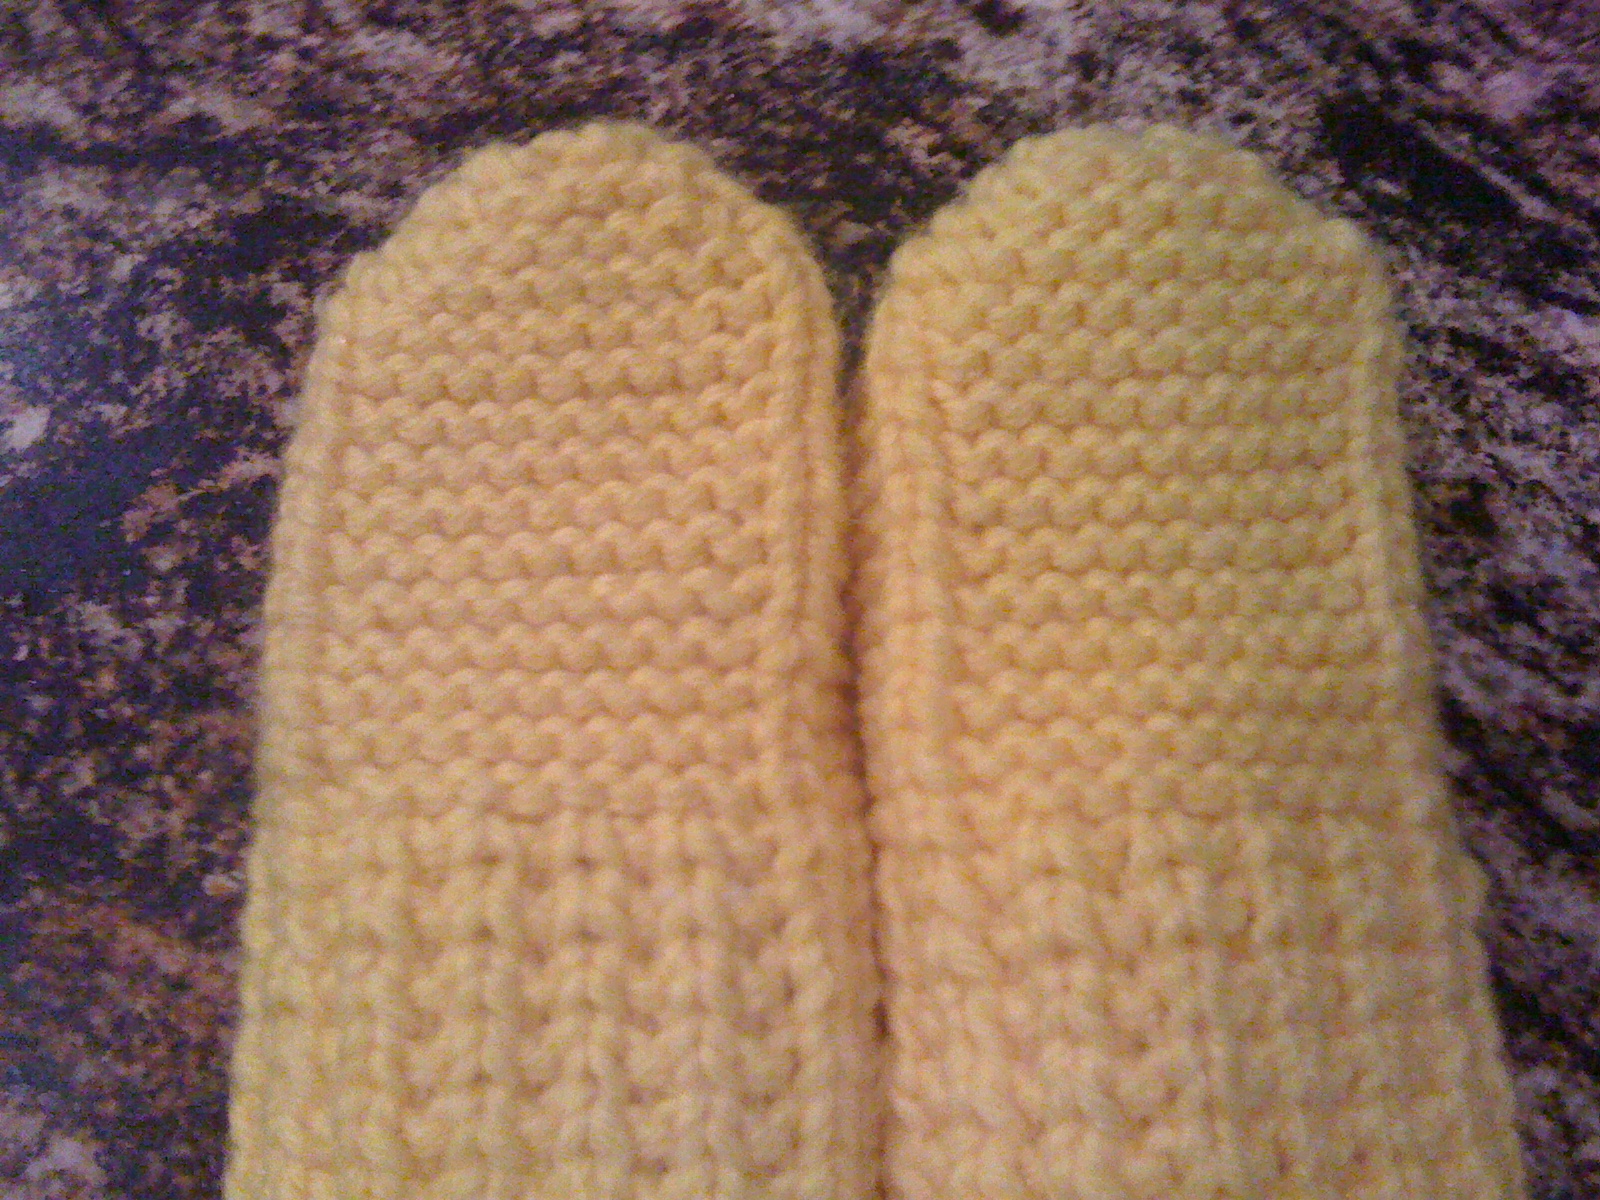

Enjoy!
If you find any mistakes or have any comments, please let me know.

Tuesday, December 28, 2010
Basic Knit Slipper Pattern

This pattern is similar to the slippers also posted on Peppermint Mocha Mama’s website, I also have posted a Rounded Heel Slipper pattern that works up very similar to this one.
As a young girl, my mother, aunts, cousins and I received crocheted slippers every year for Christmas from my Grandmother & Great Aunt. It is a nice memory for me and even though I do not have any of the slippers any more, my mother is now wearing a pair that she found. It was like finding a treasure. I have knitted many pairs of slippers in many different patterns. This pattern is easily adjustable to the size of the recipient and works up quickly.
Materials:
2 skeins of worsted weight yarn
2 skeins of worsted weight yarn
Size 7US straight knitting needles
Darning needle
Instructions:
You will be knitting with 2 strands of yarn held together throughout the pattern.
Cast on 33 stitches (Leave a long tail to sew up heel of slipper)
**Always slip the first stitch in every row as if to purl, this makes a nice edge.
Heel and Ankle
Row 1: Sl1, Knit across
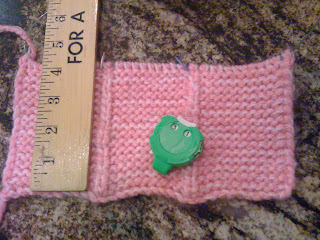
Row 2: Sl1, K10, PM, P1, K9, PM, P1, K11
**By (PM) placing the marker before the purl 1 you will be reminded that you need to purl and it is a good way to check yourself, The purl ridge will be on the outside of your slipper
Row 3: Sl1, Knit across
Row 4: Sl1, K10, P1, K9, P1, K11
Repeat Row 3 and 4 – 13 times this will give you a total of 30 rows (15 ridges)
Row 31: Sl1, Knit across
Row 31: Sl1, Knit across
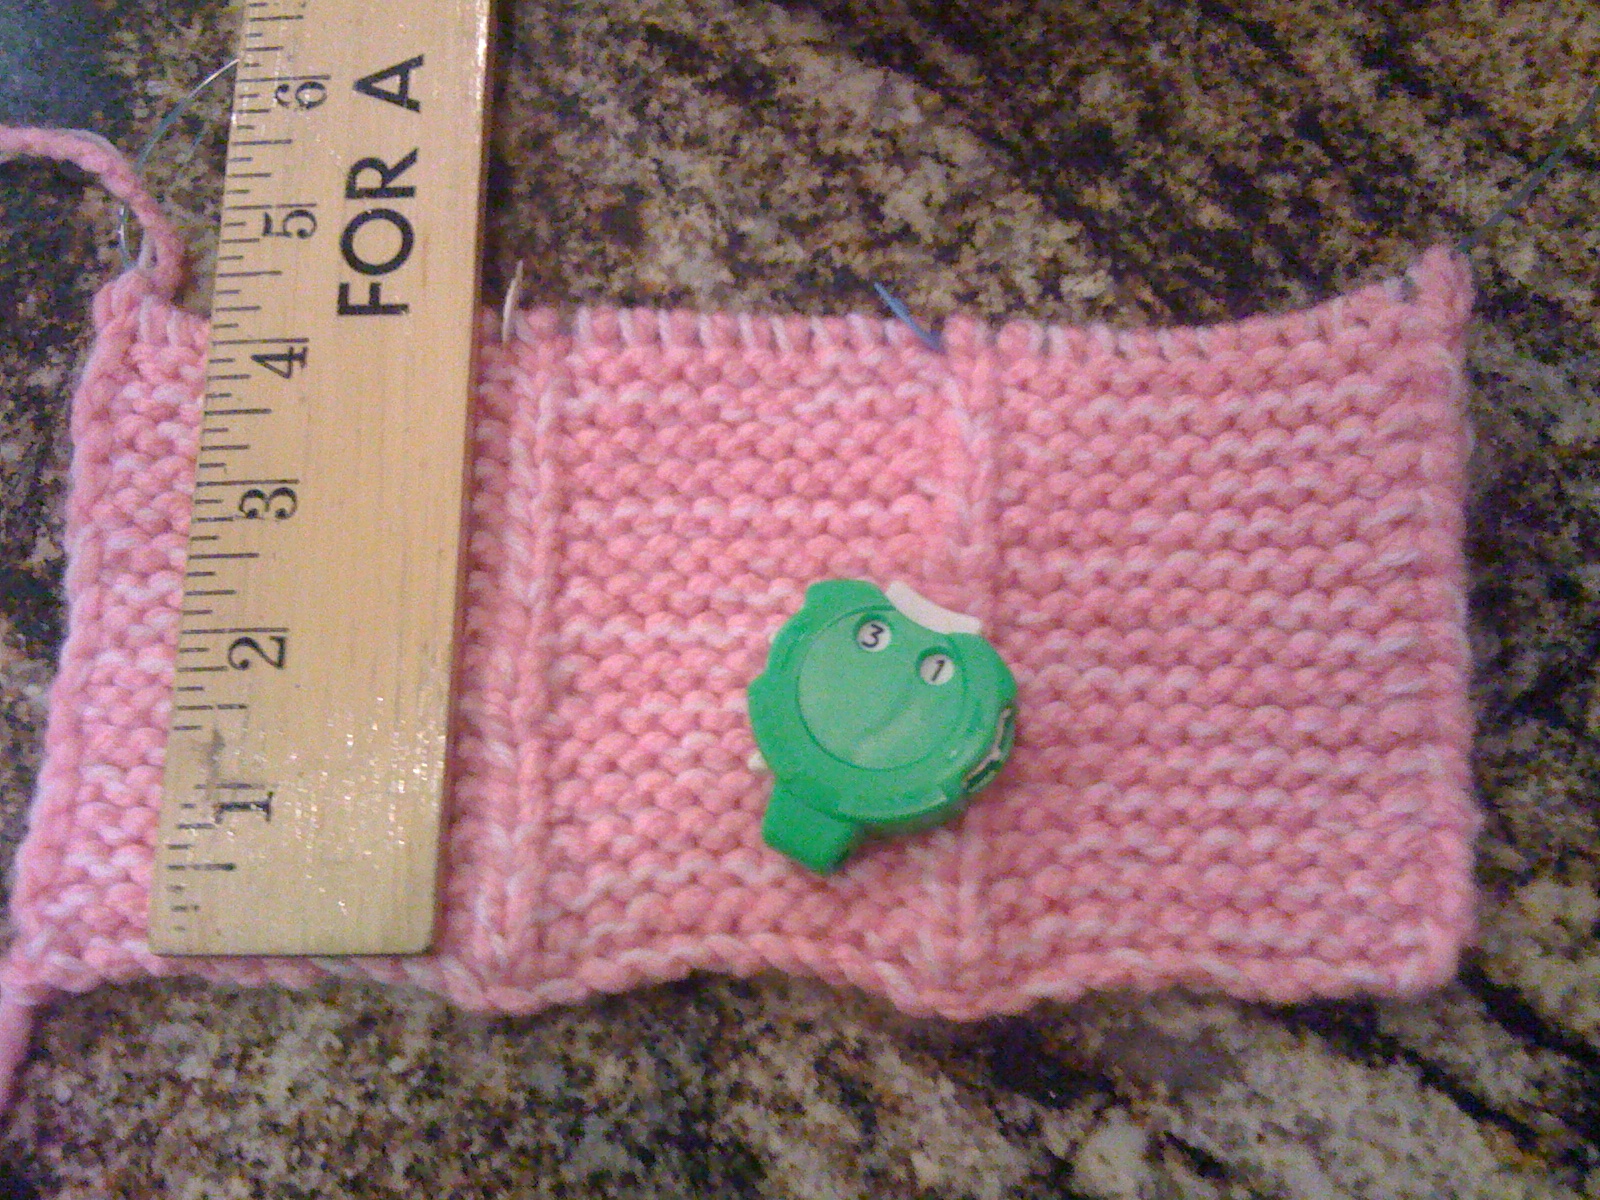
Body of Slipper
(at this point if you wish to avoid seaming you may knit in the round)
(at this point if you wish to avoid seaming you may knit in the round)
Row 32: Sl1, *P1, K1* Knit the last stitch
Row 33: Sl1, Knit across
Repeat Row 32 & 33 until you reach the length you want. (stop knitting at the base of your big toe) I wear a ladies size 9 and I knit 26 rows.

Toe of Slipper
Row 1: Sl1, *P2tog, P1*
Row 2: Sl1, *K2tog, K1*
Row 3: P2tog across to the end
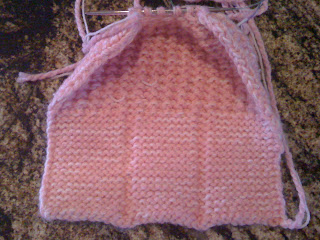

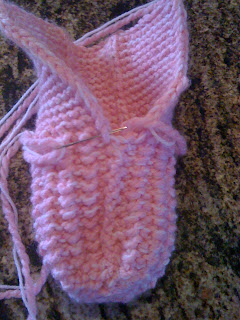
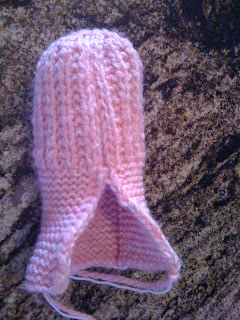
Leave a long tail and cut yarn. Using a darning needle, run the yarn back thru, picking the yarn off the needle. Pull tight, this will form a circle at the end of the toe. Turn the slipper inside out and proceed to sew up the top of the slipper, stop at the change in pattern and tie off.
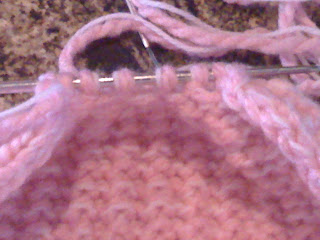
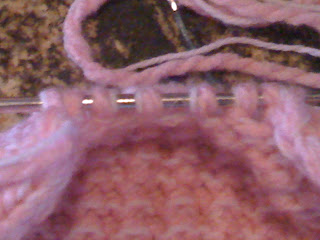


Fold the slipper in half and with the long tail from the cast on, sew up the heel.
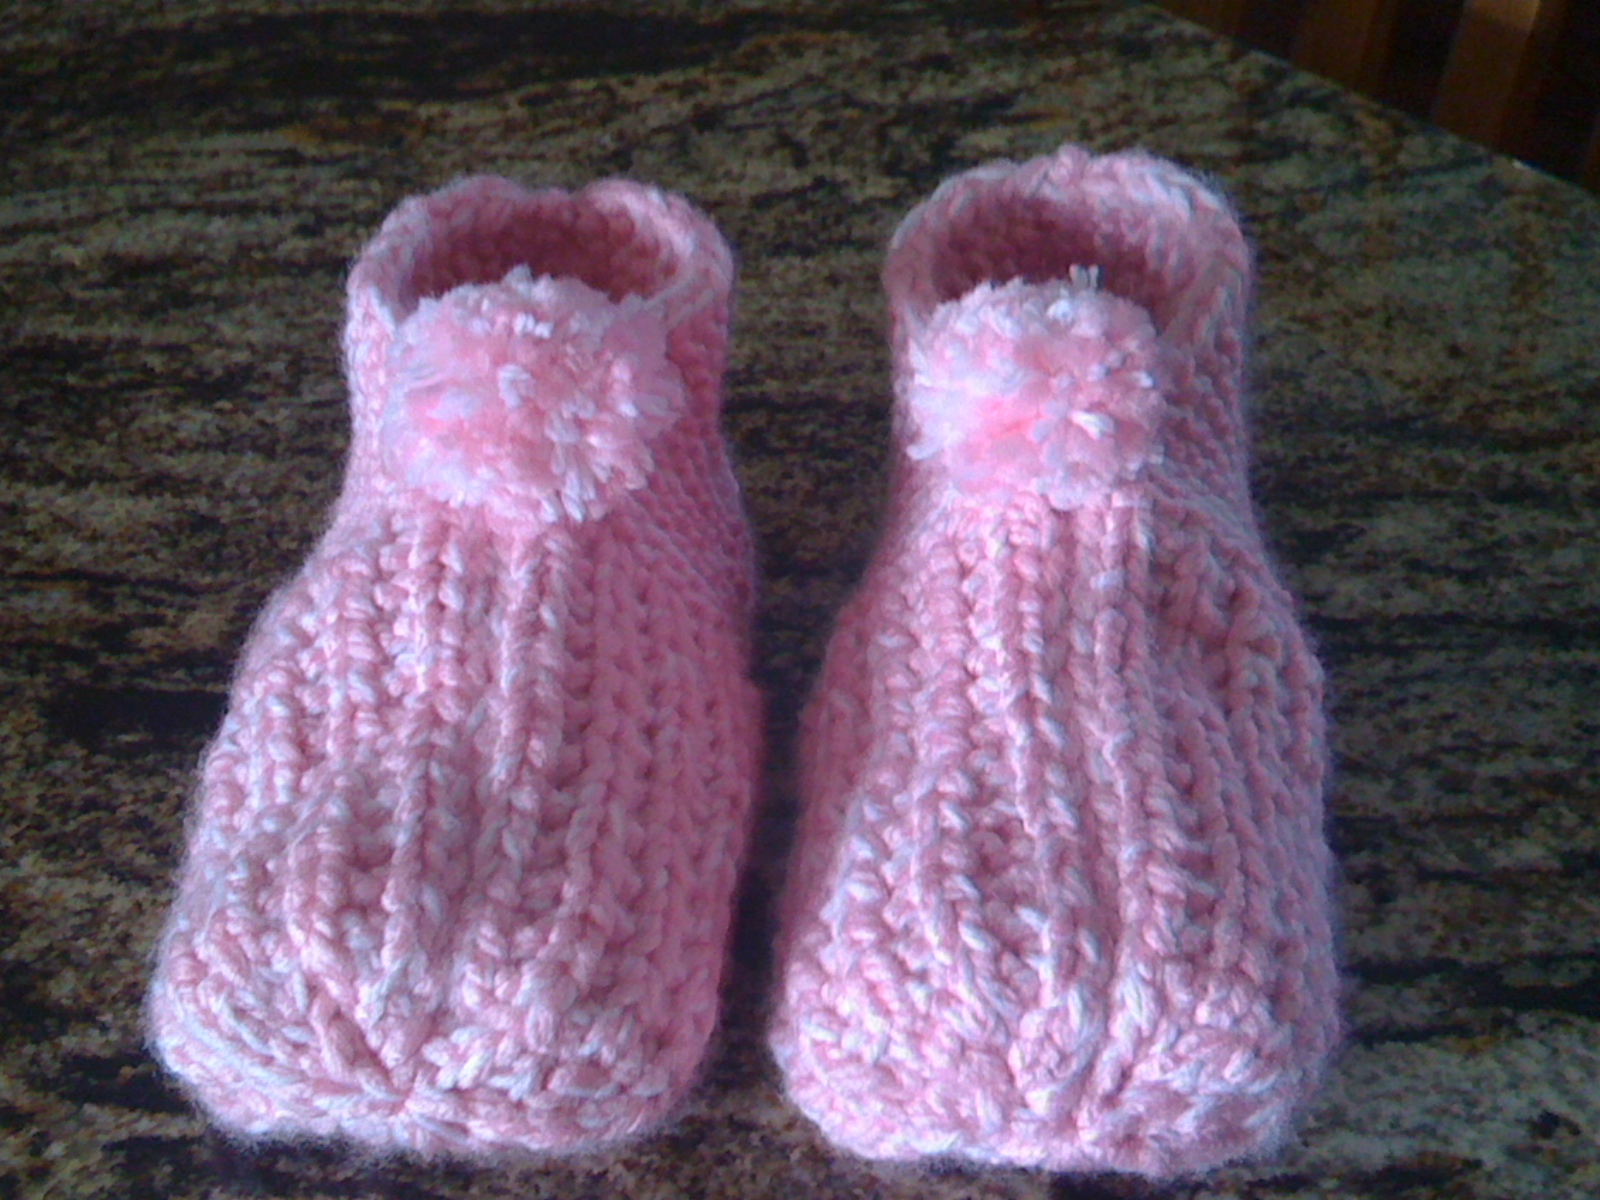
Turn the slipper right side out. Make a pom, pom and attach. You may also add Dimensional paint to the bottom of the slipper to enhance traction.


Enjoy!
If you find any mistakes or have any suggestions in this pattern please let me know.

Subscribe to:
Posts (Atom)